Last week I posted some experiments from a photo challenge where the aim was to shoot your DSLR like it was a film challenge, limiting options and processing simply – no image stabilization, set a single ISO setting – bare bones. I learned some things by minimizing the technology and decided to apply some things to my regular shooting process while utilizing all the features of my DSLR.
Here are some things I was forced to try when I limited my camera’s functionality that can I apply to my everyday shooting:
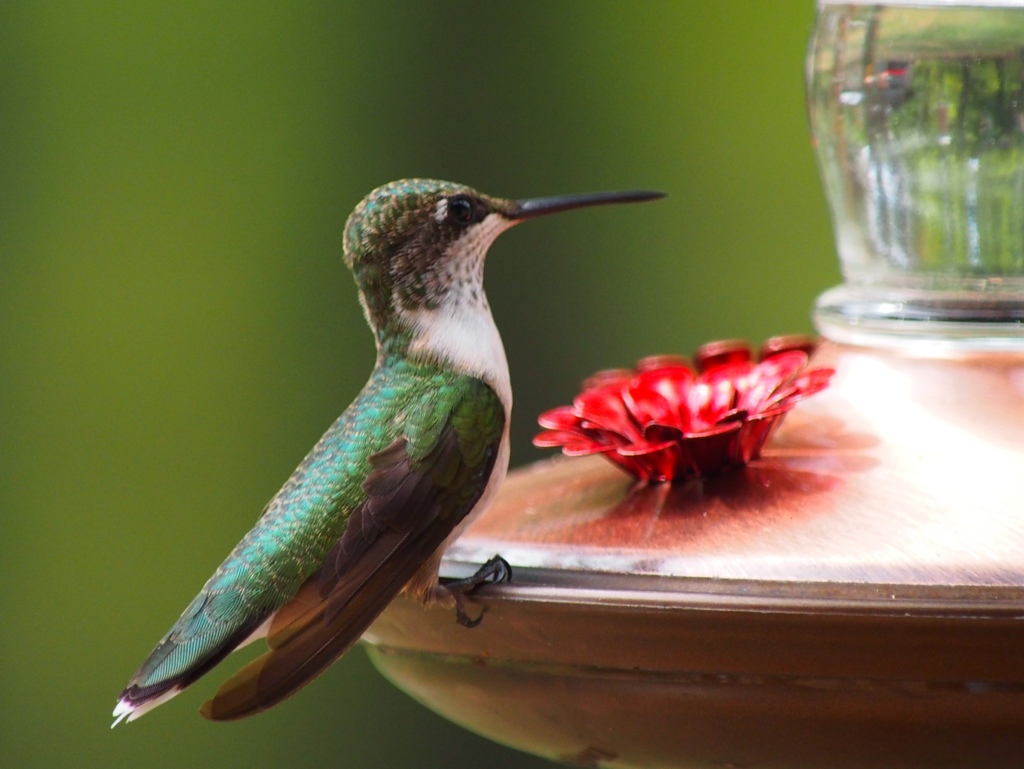
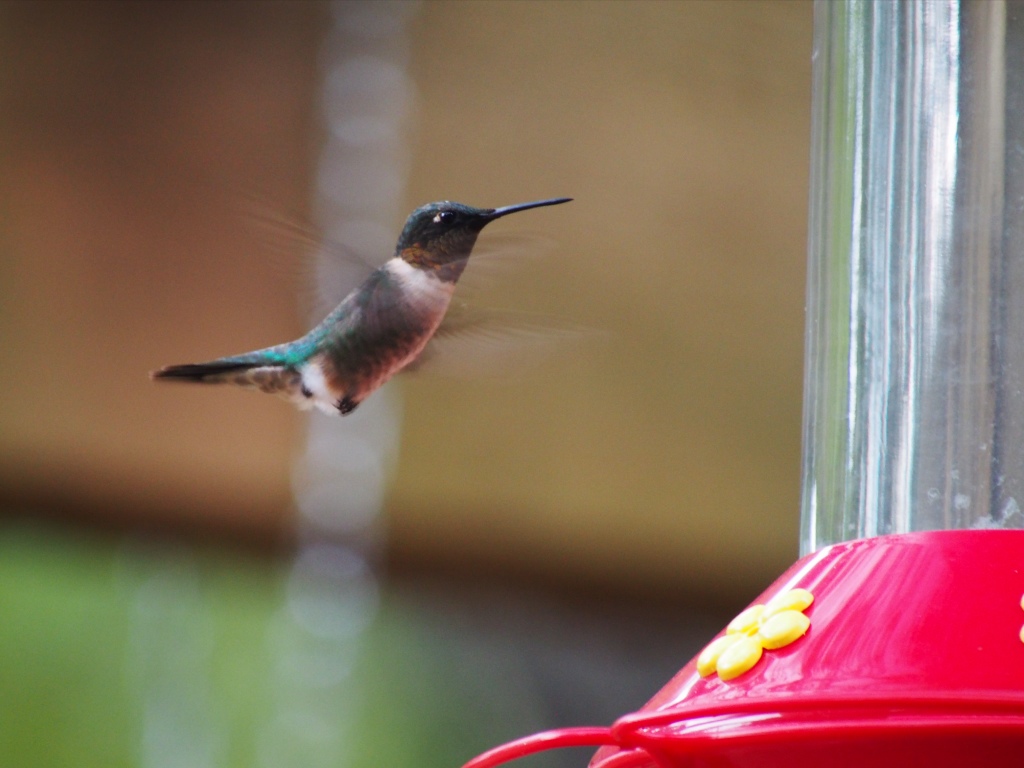
1. Get close. Hummers at a feeder could care less about you. They may chirp a bit, but if you position yourself close to the feeders before they approach, they will come anyway – food is more important than you. I was actually standing on a step stool a few feet from a couple of the feeders for these shots.

2. Wait for it. Hummers are not sedentary creatures. Get a good focus on one that is feeding and stay on that bird until it starts to flutter, then snap immediately – it’s the best way to get an action shot.


Holding on one bird can get you interesting angles that would be almost impossible to catch shooting one-off.

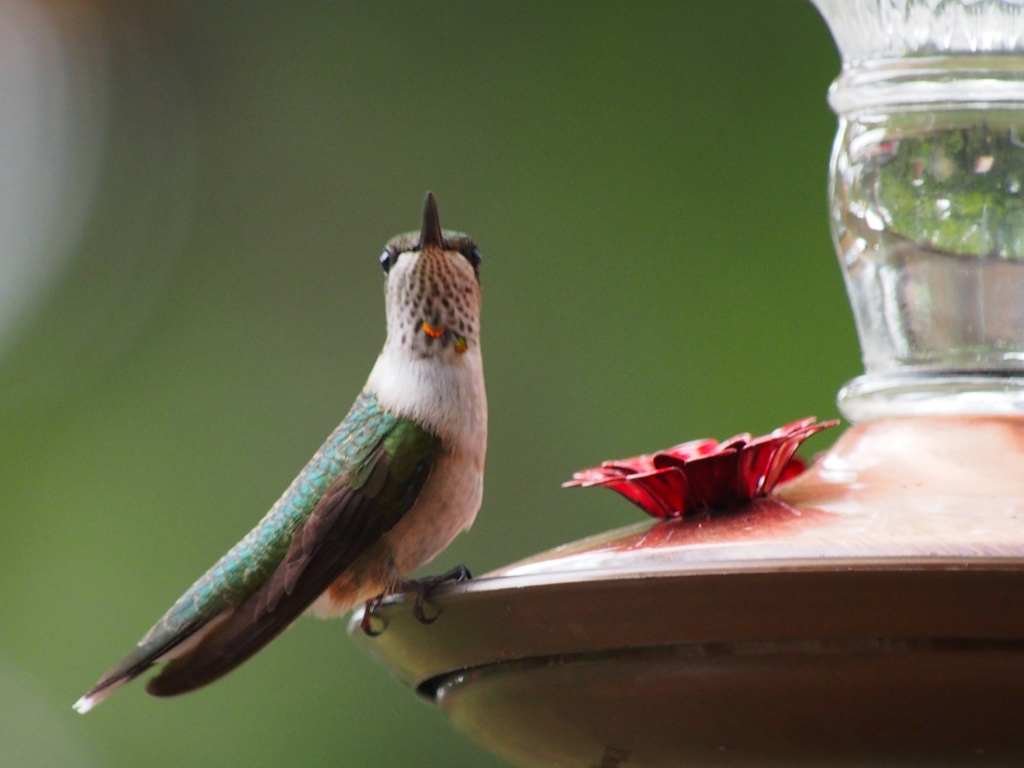

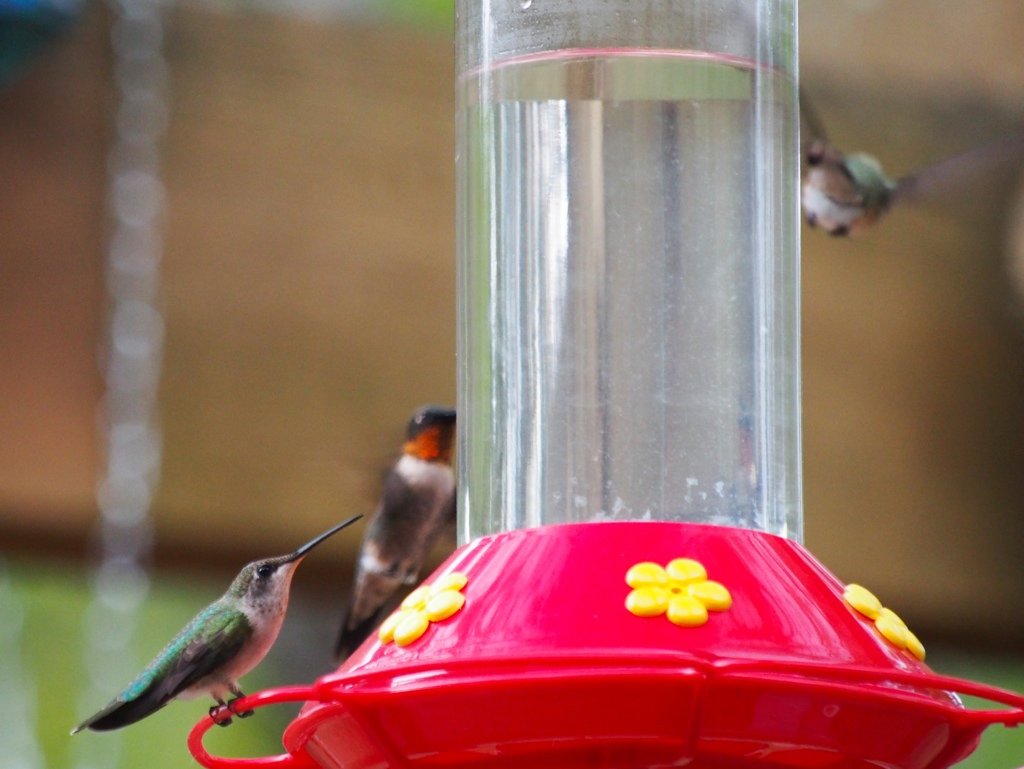
This technique can sometimes let a story play out – this fellow was defending his feeder by intimidating all comers.


3. Make your autofocus area as small as possible and focus on the head or eyes of the hummer. If you can get the head sharp, the other motions will only make the shot more interesting.


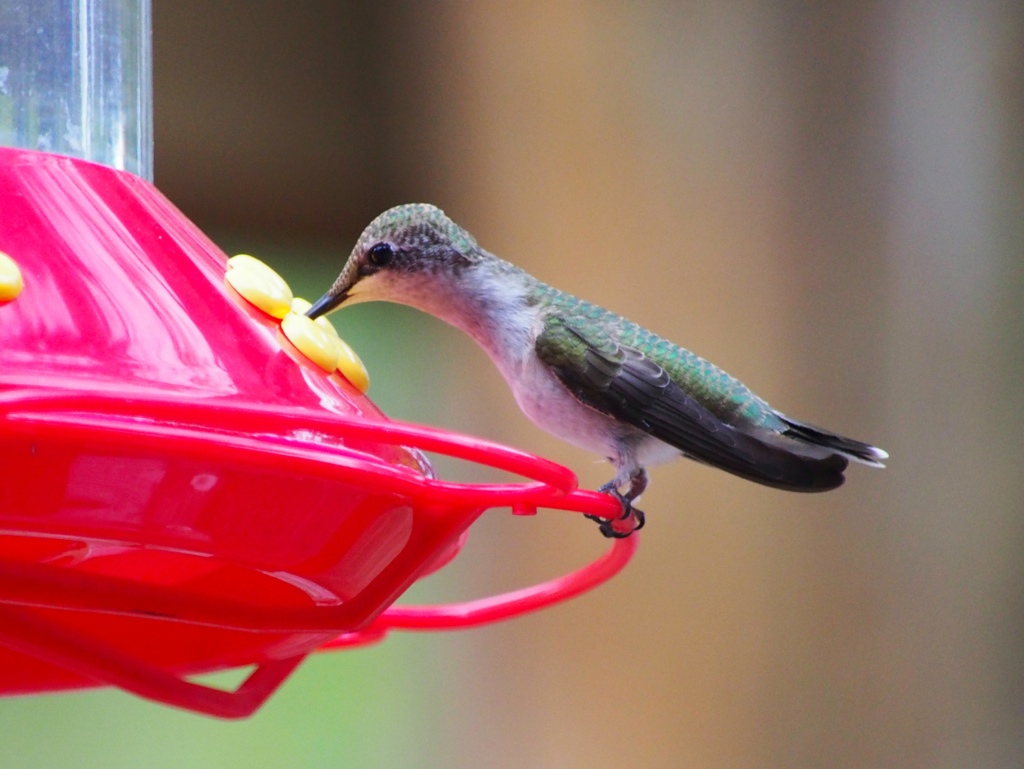

5. Stalk the feeder. Sometimes a bird will light on the opposite side of the feeder. Keep the feeder in your viewfinder and focus on any part of the bird you see peaking around, often a hummer will pop up and you’ll be ready of a fun candid with sharp focus in your subject.


6. Back off and take it all in. When hummers are competing to feed there’s often lots of drama that you would miss if you were tight on one bird. Back off every now and then to get the whole picture.


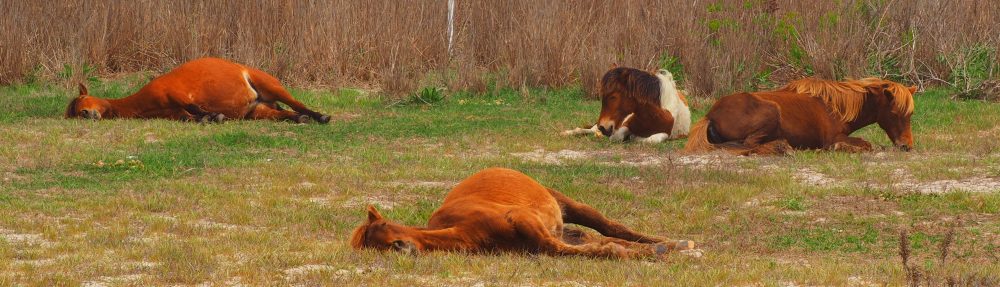
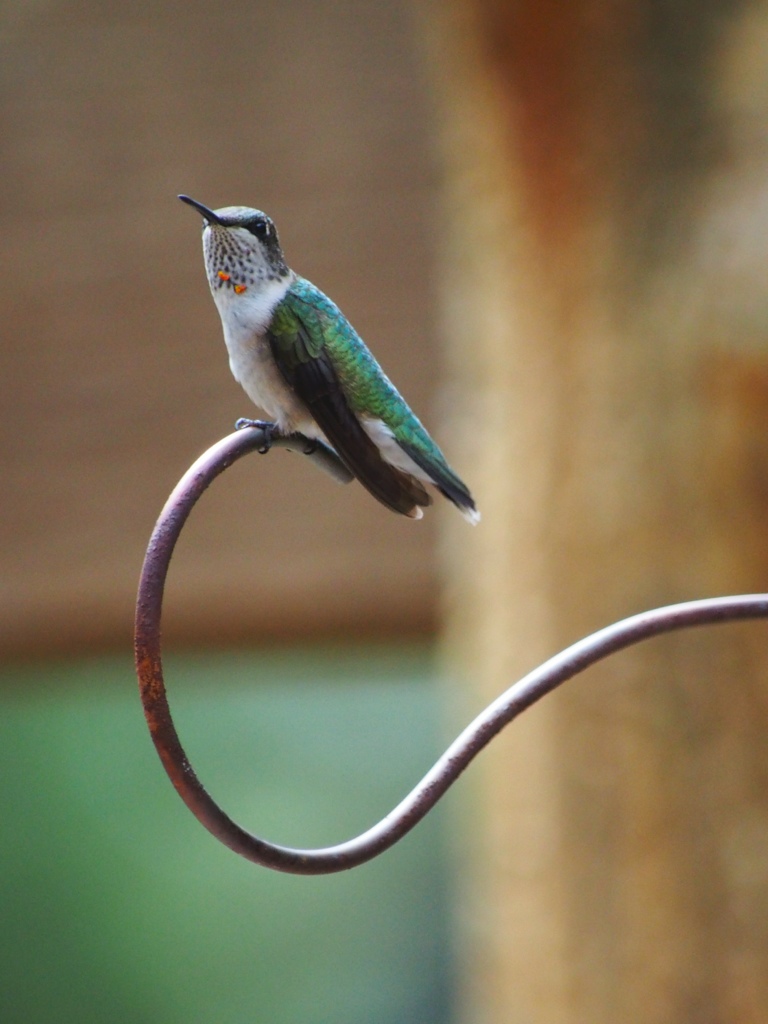
7. Look for unusual locations. If you watch the dominant bird you will notice that they perch nearby. They seem to create patterns or routes. They may feed and perch on a bare limb and keep watch on their territory. They almost always return to their perch to keep watch after each altercation. These are opportunities to get a unique shot of the bird without the iconic red feeder.


 These are things you can do with any digital camera with a decent amount of zoom – these are wonderful creatures and it is a pleasure just to be in their midst. Capturing those moments makes it even better.

Glorious photos!!! Encourages me to keep on practising…….
Thanks – When they are feeding intently I find that they do not care if I am there on a ladder as long as I move slowly. I also set my focus point as small as it will go and shoot for the eyes.
Thanks for letting me camp out in your blog for a little while today. I had a great time and tried to leave my campsite as good as when I arrived. I’ll be back!
LOL – thanks for camping:) Everything looks to be in fine shape – come back anytime!
Beautiful shots! nice work 🙂
Thank you so much!
Amazing amazing beautiful pics of hummers…! nice work..!
Thanks – I finally got a chance to check out your blog – I love your water shots!
Nice work!
Thanks so much!
Those photos are truly spectacular. I’ve never been that “close” to a hummingbird before!
Thanks so much – I have not ever been this close either. I have all my bird feeders on one patio and I was filling some seed feeders when I discovered that their feeding went on even with me near so I grabbed the camera and stayed in the middle of the action.
Great photos! I think you see more hummingbirds in one day than I’ve seen in my whole life!
Thanks Diana – This summer has been so amazing. I wonder if the drought has made them more plentiful at feeders here. I have never had this many around me before either, but then again I wasn’t looking very hard:)
Good thing. Because your photos are amazing!
Wow wow wow! Spectacular shots!
Thanks so much for taking the time to look at them!
FANTABULOUS!!!
Thank you!
Reblogged this on Ania Archer and commented:
Great post on how to shoot hummingbirds. I will definitely use these techniques when shooting these little flying critters.
Thanks for the reblog!
Great post. I love it. I always wanted to take photos of hummies. I have a feeder in my patio but it looks like hummies do not favor my feeder :(. I will definitely try your advice when I have a chance. Thanks for sharing. Great photos.
Thanks! I didn’t have a lot of response to my feeders until I moved them to the other side of the house near a large walnut tree and changed from the ready-to-use nectar back to the home brew. The old location was near a trumpet vine and I thought that would help attract them – I see now that they are so active that it’s better to place the feeders near a nesting location.